Project Log: Wednesday, May 13, 2015
After a morning spent on unrelated errands, I got to
work on the windlass power cables. These cables
had to lead from the electrical panel area all the way
forward to the stem. Since running the cables
straight through the cabin in the shortest route was not
desirable nor attractive, the actual route required
would be substantially more convoluted.
The only practical route for the large and heavy cables
was through the bilge, as the other wiring routes
available were either too full or too contorted for this
major cable. Normally I avoided leading any wiring into
bilge areas, so to ameliorate the passage through this
bilge I planned to hold the wires against the underside
of the cabin sole, and also to run them through a
continuous flexible conduit (aka hose) for protection.
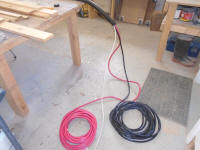
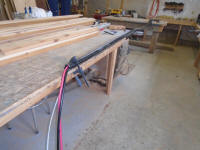
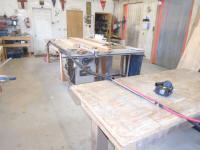
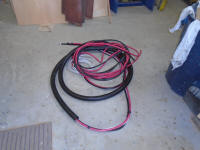
Starting in the boat, I laid out a length of the conduit
I planned to use (1-1/2" black reinforced so-called
livewell hose) and determined where to cut it to the
correct length. Then, down on the bench, I
pre-installed the red and black cable pair (1/0 tinned
copper), plus a 14/2 conductor that would be required
for a helm-mounted windlass switch. I pulled the
cables through the conduit, pulling enough through the
end to leave more than enough at the forward end to lead
from the bilge to the chainlocker in my chosen route.
All the excess cable from my original length remained at
the engine room end of the conduit--more than needed,
but I didn't want to attempt any guesses at cutting it
till it was in its final position.
|
 |
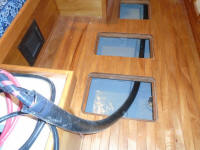
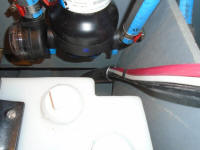
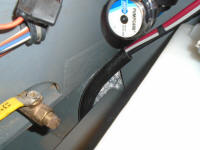
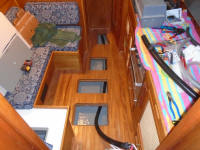
After lugging the heavy assembly into the boat, I led
the forward end through the bilge and into the utility
space beneath the v-berth, pulling enough of the conduit
through to bring it above the floor of the space. |
 |
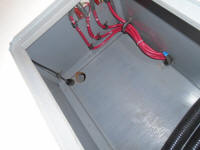
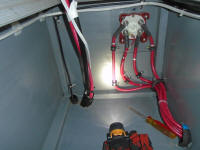
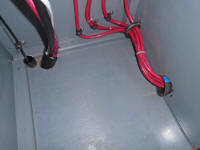
To get the aft end of the assembly into the engine room
and electrical space, I chose to lead it into the after
dinette locker, which backed directly against the engine
room and where I'd already led other battery cables.
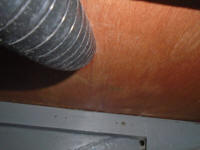
I drilled a new hole large enough to accept the wires
and conduit, and with quite a bit of grunting and
cursing eventually managed to route the cable and its
hose into the tight confines beneath the cabinet bottom
and up through the hole, with just enough of the conduit
to stick through the hole for chafe protection. |
 |
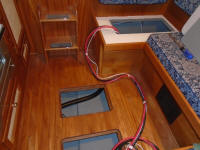
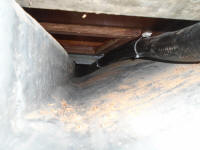
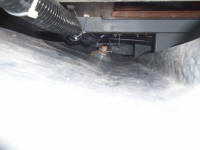
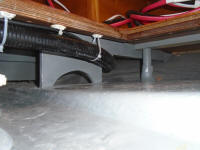
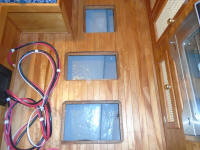
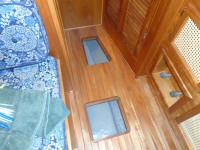
With both ends where they needed to be, I secured the
conduit beneath the sole, outside of the hatch openings
and using the cable mounts I installed earlier.
This kept the conduit out of the way and above any
nuisance water that might run through the space. |
 |
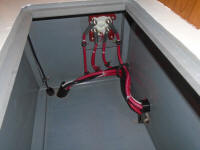
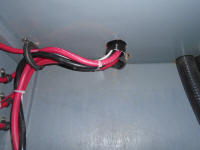
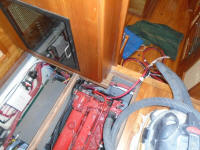
Originally, I'd hoped to lead the new cabling through
the existing wire chase into the engine room, the one
containing the battery cables running to the nearby
switch, but I found that it was impossible to get the
cables to do what was necessary and run them cleanly
through, so I drilled a new hole just above for an
additional chase, and led the cables through, protecting
the passage through the bulkhead with a length of hose.
I secured the wires out of the way in the corner of the
dinette cabinet. |
 |
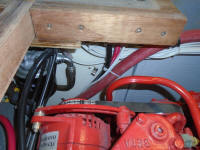
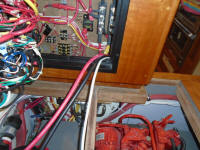
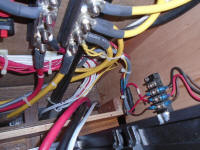
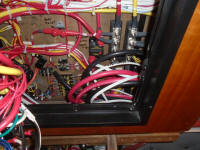
Next, I determined an ample length of cable that might
be required to lead to one or two possible mounting
locations in the console, and cut off the excess cable,
leaving only 4-5' worth to pull into the console through
the base. As with the other wiring here, I
protected the wires where they entered the console with
lengths of hose, and for now coiled up the excess and
left it for final connection later, once the required
main windlass breaker and helm switch arrived. |
 |
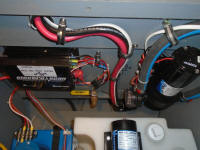
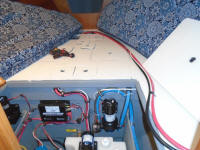
That completed the aft end of the run for now. At
the forward end, I needed to get the cables from the
utilility space at the aft end of the forward cabin all
the way into the chainlocker. The only route
forward was up and over the water tank, then into the
chainlocker through one of the two built-in wire (and
hose) chases along the aft corners. I drilled
another hole as needed and led in the wiring harness,
securing it to the bulkhead as needed and protecting the
chafe points with hose lengths. Then it was pretty
simple to run the harness forward along the water tank,
where I pulled it all through the forward most access
hatch. |
 |
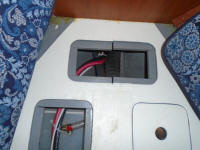
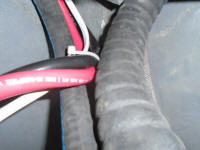
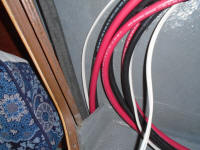
Finally, I snaked the cables down and through the
chainlocker wire chase on the port side, which had space
available since it contained only the hose for the
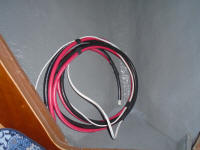
saltwater washdown pump. I coiled up the excess
cable for now and left it pending the final windlass and
solenoid installation, which would happen as soon as the
new parts arrived. |
 |
| |
Total Time Today: 5 Hours |
<
Previous | Next > |
|
|


